This article is written for: Zello Work Zello Friends & Family.
Utilize the import tool to edit existing users' configurations. Using the CSV, you can enable the shared devices function for a user; (re)enter their phone number and/or email; add a display name and/or job title; add channels, contacts, templates, and/or tags; or change their password.
Use cases may include:
-Adding multiple users to an existing channel.
-Adding tags to users so they can be managed by a sub-admin.
-Adding job titles/display names to many users.
-Enabling the shared device feature for a group of users.
-Deleting users.
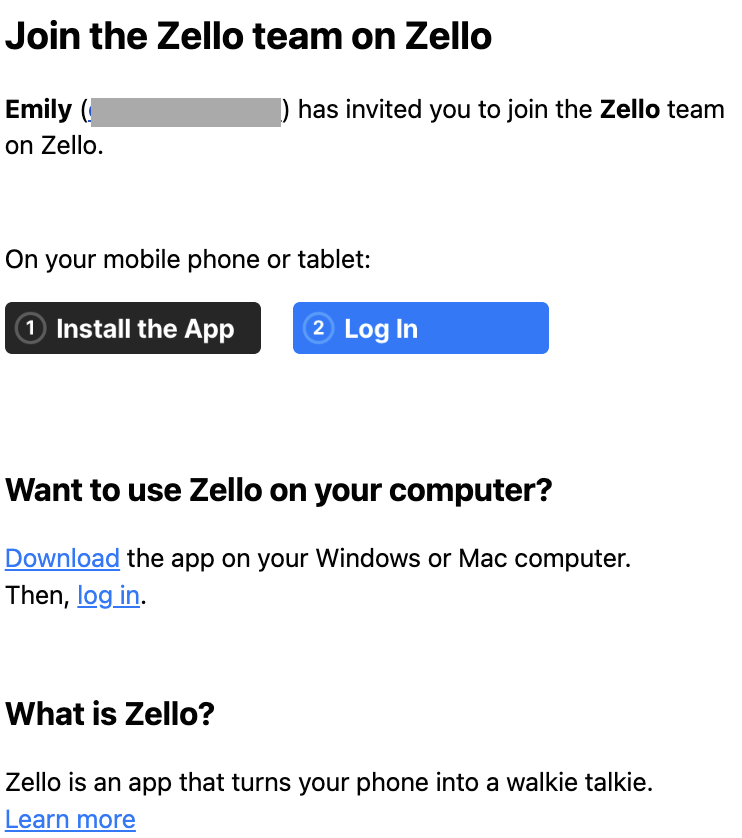
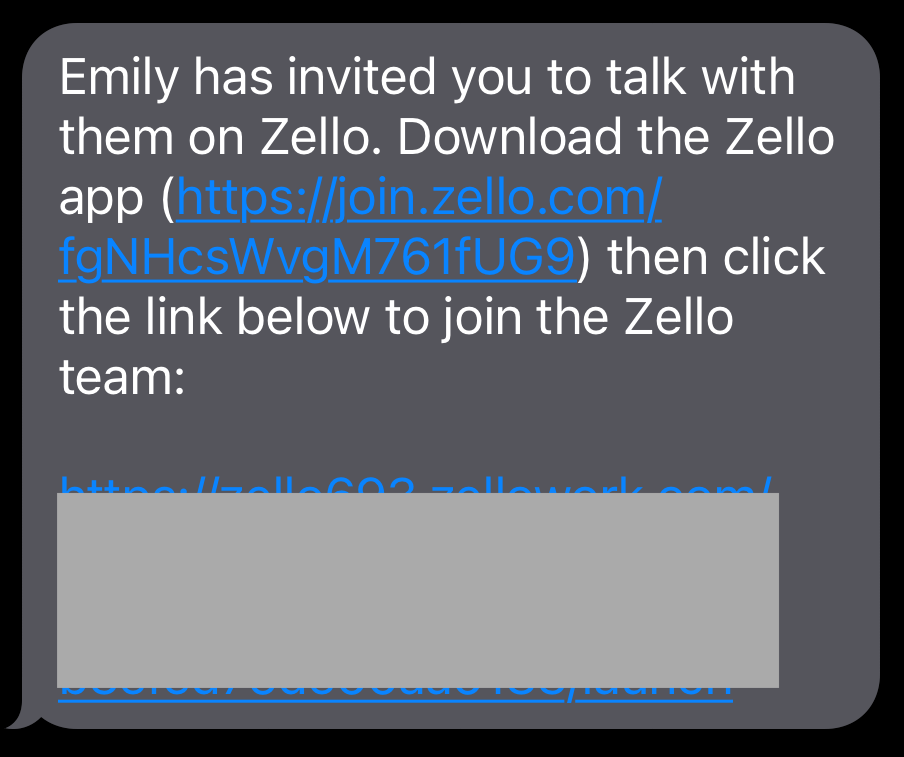
SignOn links can be sent and/or resent in bulk via the user import feature. To do so, add a signon_send_to column to the CSV when you're configuring the user. They'll then receive a message with a link to download the Zello app, as well as a link to sign in to the network.
If there’s a significant number of network users who haven’t signed in to Zello Work yet, use this feature to re-send SignOn links to their email and/or phone. This allows admins to nudge existing users who have yet to log in, in turn easing the adoption process.
Tables can't be imported directly. Please insert an image of your table which can be found here.
Using the Import Tool
Adding/editing users via the import tool is a two-step process: first create a CSV file with the appropriate user information, then upload the file to the management console.
-
The first step of utilizing the user import tool is creating the corresponding CSV file. Please note that a template of this file can be downloaded from the management console's import page; also note that the template is partially filled in with examples, so you can see what sort of information goes where. The table below outlines and explains the file's possible headers.
Note: If you’re adjusting a large number of existing users’ configurations, consider exporting their data and amending the spreadsheet accordingly, as described in the User Export section.
*Optional fields.
Reminder: You can only import as many users as your network is subscribed for. See this article for assistance adjusting the number of users in your network.
-
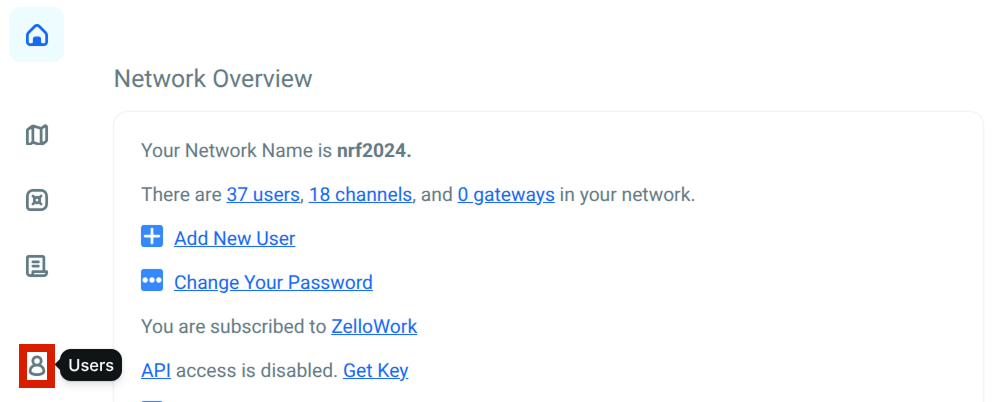
1. Sign in to your management console at [yournetworkname].zellowork.com
2. Select Users from the taskbar. Then click Import Users.
3. In the upper right, click Import Users

4. Scroll down and click Choose a file.
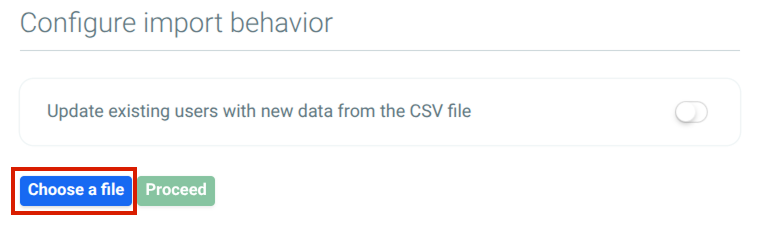
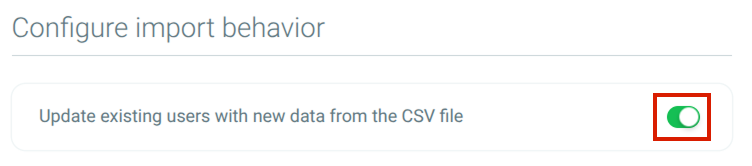
Please note: Channels cannot be created via the user import tool. For more information about using the channel import tool, see this article.5. Click Choose a file and upload the CSV created in the Create the CSV File step. If you intend to update existing users with the CSV file, ensure you’ve toggled ON the Update existing users with new data from the CSV file option.
6. Double check to ensure that the correct CSV file has been chosen and then click Proceed to upload the file.
Tables can't be imported directly. Please insert an image of your table which can be found here.
User’s password. This field is only required if you’re adding a new user.
If you’re adding a new user, the text entered in this column will be assigned as the user’s password.

Enter the name of any channels you’d like to assign the user. If assigning more than one channel to the user, separate each channel name using a semicolon. Note:Users cannot add themselves to channels.
Please note that channels cannot be created via the user import tool, and they must be established before you assign users to them. For assistance with the channel import tool, see this article; for assistance setting up channels one-by-one, see this article.
If you’d like one user’s permissions and configurations to match another’s, use the clone feature.
Enter the username of the individual you’d like to clone a user from in this column.
User Export
Existing user data can be exported from the console’s Users page. Exported data for each user will include the following headers: username, email, phone, signon_send_to, full_name, job_title, channels, contacts, tags, clone_from, template, shared, delete. Note that password information will not be exported.
In addition to providing details about the individual users on your network, the export feature may prove useful when altering existing user configurations as described in the User Import section.
For example, if you'd like to assign users as shared device accounts, export all users to a CSV; add a 1 to the users' "shared" column; then re-import the CSV into the management console.
To export user data:
- Sign in to the management console at [yournetworkname].zellowork.com.
- From the taskbar, click Users.
- Click Export Users.

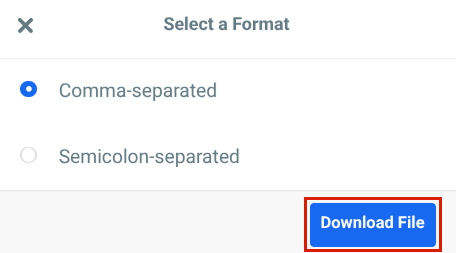
- Select the format of your CSV. The click Download File.